


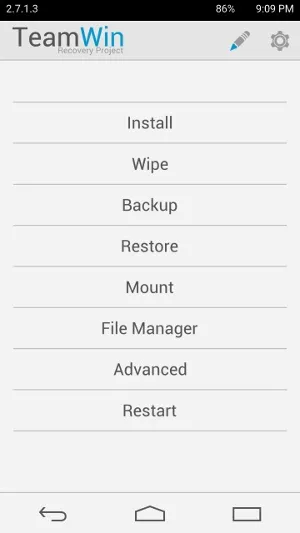
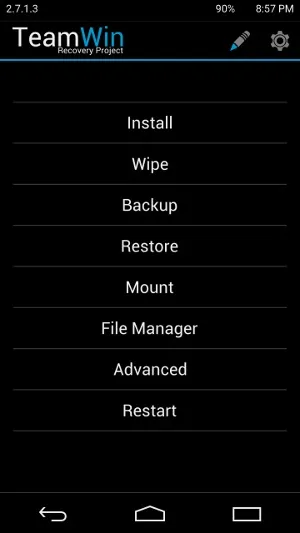
It wasn't too long ago that I showed you how to unlock the LG G3 bootloader and install TWRP, and while the process was extremely easy, the custom recovery can look a little intimidating to new users. Even long-time users who know how to navigate it find it boring to look at, as TWRP has had the same basic aesthetics since its creation.
But no more of that! Today, I'll show you on how to theme your TWRP recovery with various user-friendly interfaces that'll definitely make it more welcoming and easier to navigate—for new and old users alike.
What You Should Already Have
Before we begin listing steps, let's discuss the state of your Android device. First, you'll definitely need to be rooted, so checkout our complete guide to rooting any Android for help. Next, if you haven't already, unlock your bootloader and install TWRP. Once you're rooted and have the custom recovery installed, you're ready to begin theming.
Download Theme Manager & Root Browser
This process is easy enough without the TWRP Theme Manager, but the app will let you to switch themes on the fly, as well give you the ability to revert back to the stock theme with ease. Download and install TWRP Theme Manager for free from the Play Store.
An additional app we'll need is a root-capable browser; I'll be using Root Browser (also free) for our purposes today.
Pick Your Themes
The themes, originally created by z31s1g, have been consolidated into one XDA thread by xlxcrossing. Download one or all of them on to your device.
[http://d-h.st/cXg Light Theme]
[http://d-h.st/7Ti Dark Theme]
[http://d-h.st/xxy Black Theme]
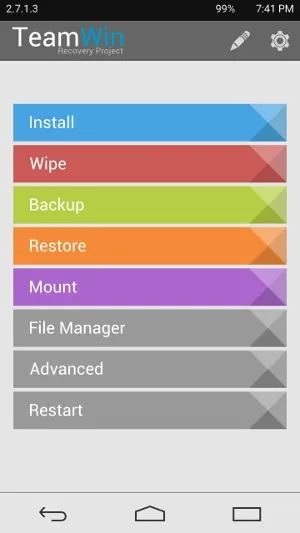
[http://d-h.st/67D Light Google Play Theme]
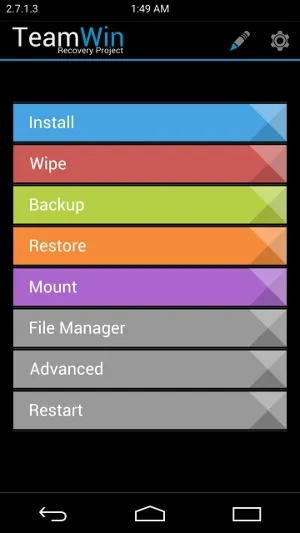
[http://bit.ly/1DjxbRZ Black Google Play Theme]
[http://d-h.st/rd4 XDA Theme]
[http://d-h.st/cXg Light Theme]
[http://d-h.st/7Ti Dark Theme]
[http://d-h.st/xxy Black Theme]
[http://d-h.st/67D Light Google Play Theme]
[http://bit.ly/1DjxbRZ Black Google Play Theme]
[http://d-h.st/rd4 XDA Theme]
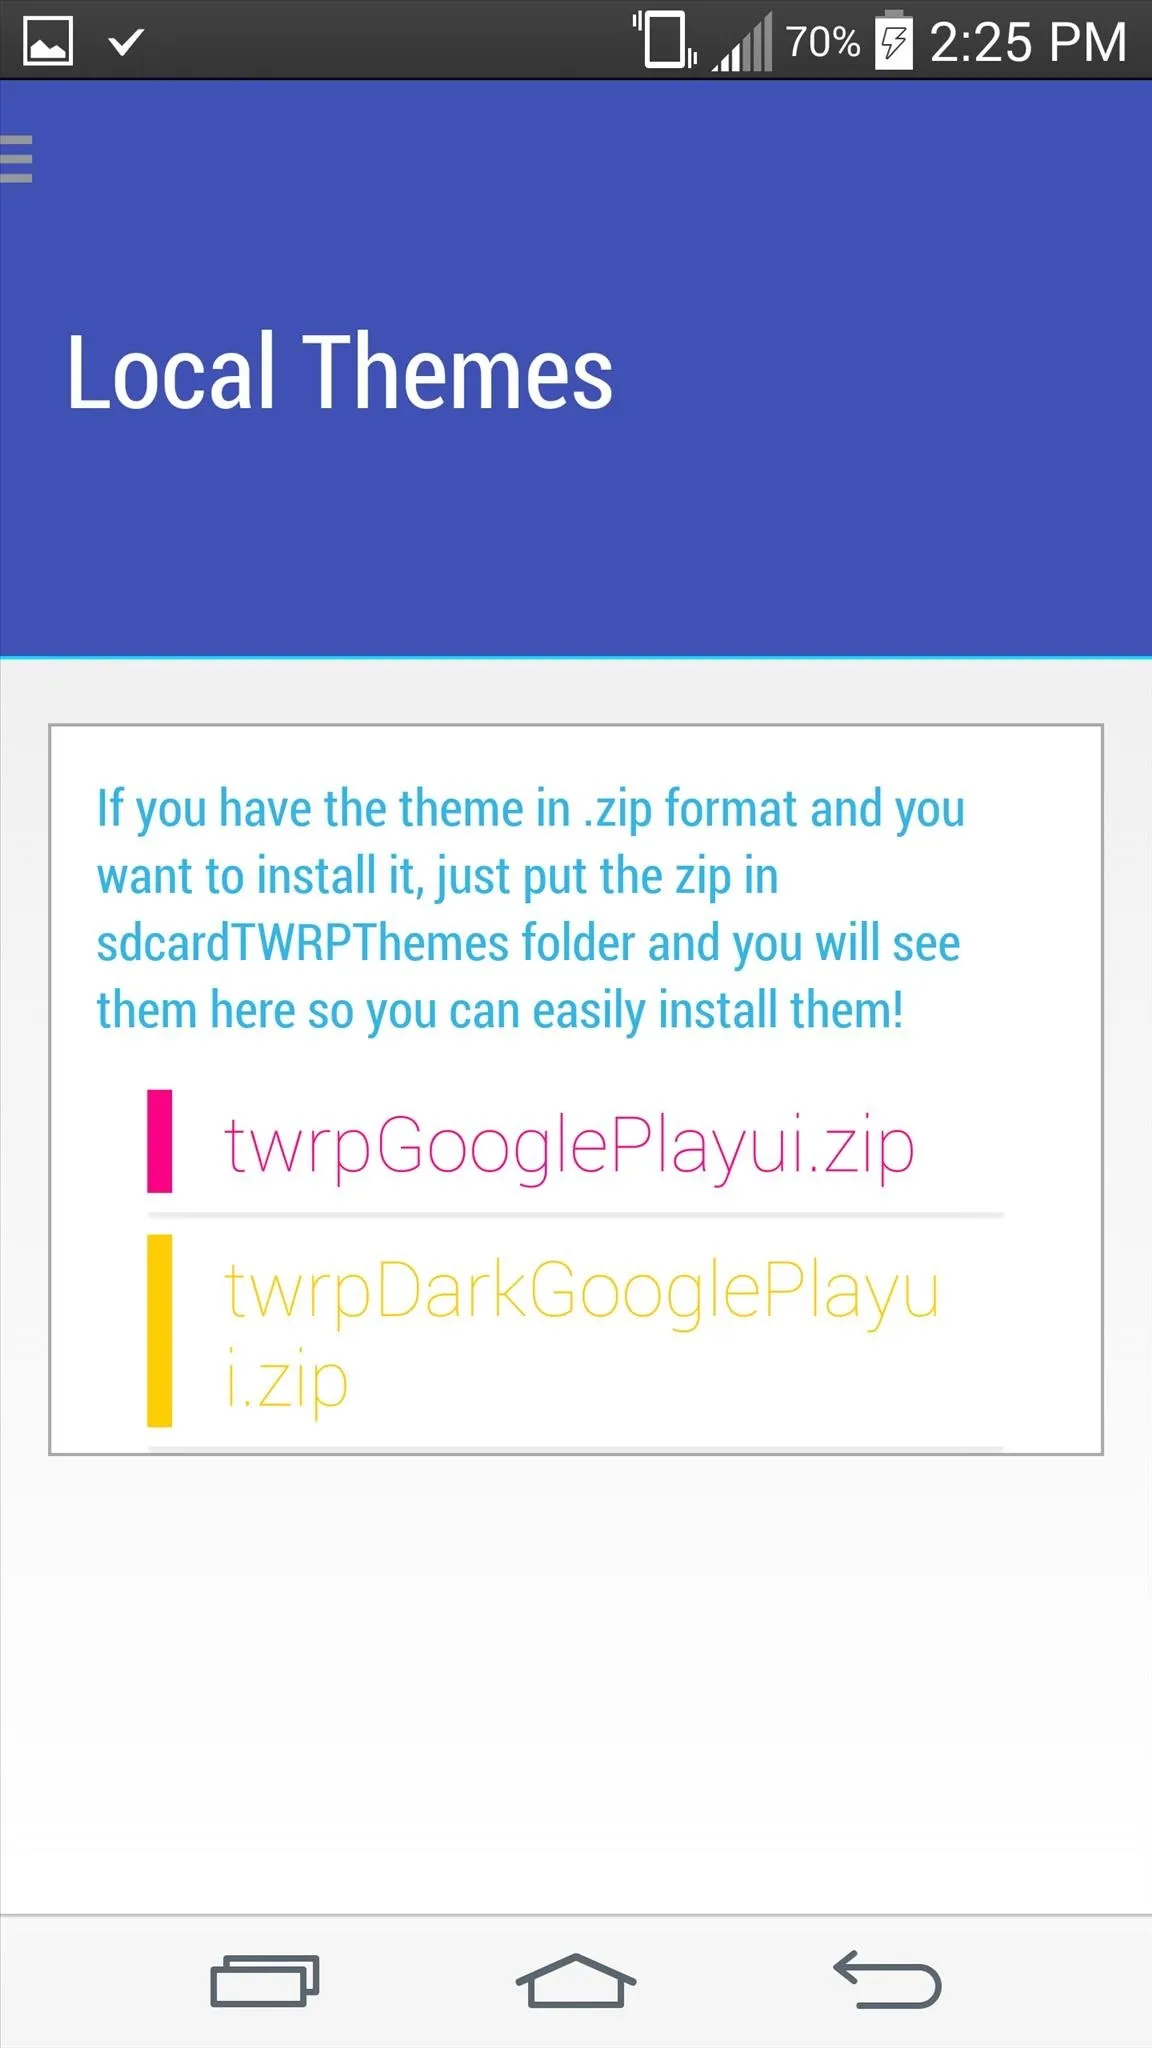
Copy & Paste to Folder
Open Root Browser and navigate to sdcard -> Download. Findone of the ZIPs you downloaded, long-press it, then select Copy. Now, navigate back one level back to sdcard, scroll down and enter the TWRPTheme folder, then paste the file there. Repeat for additional themes.
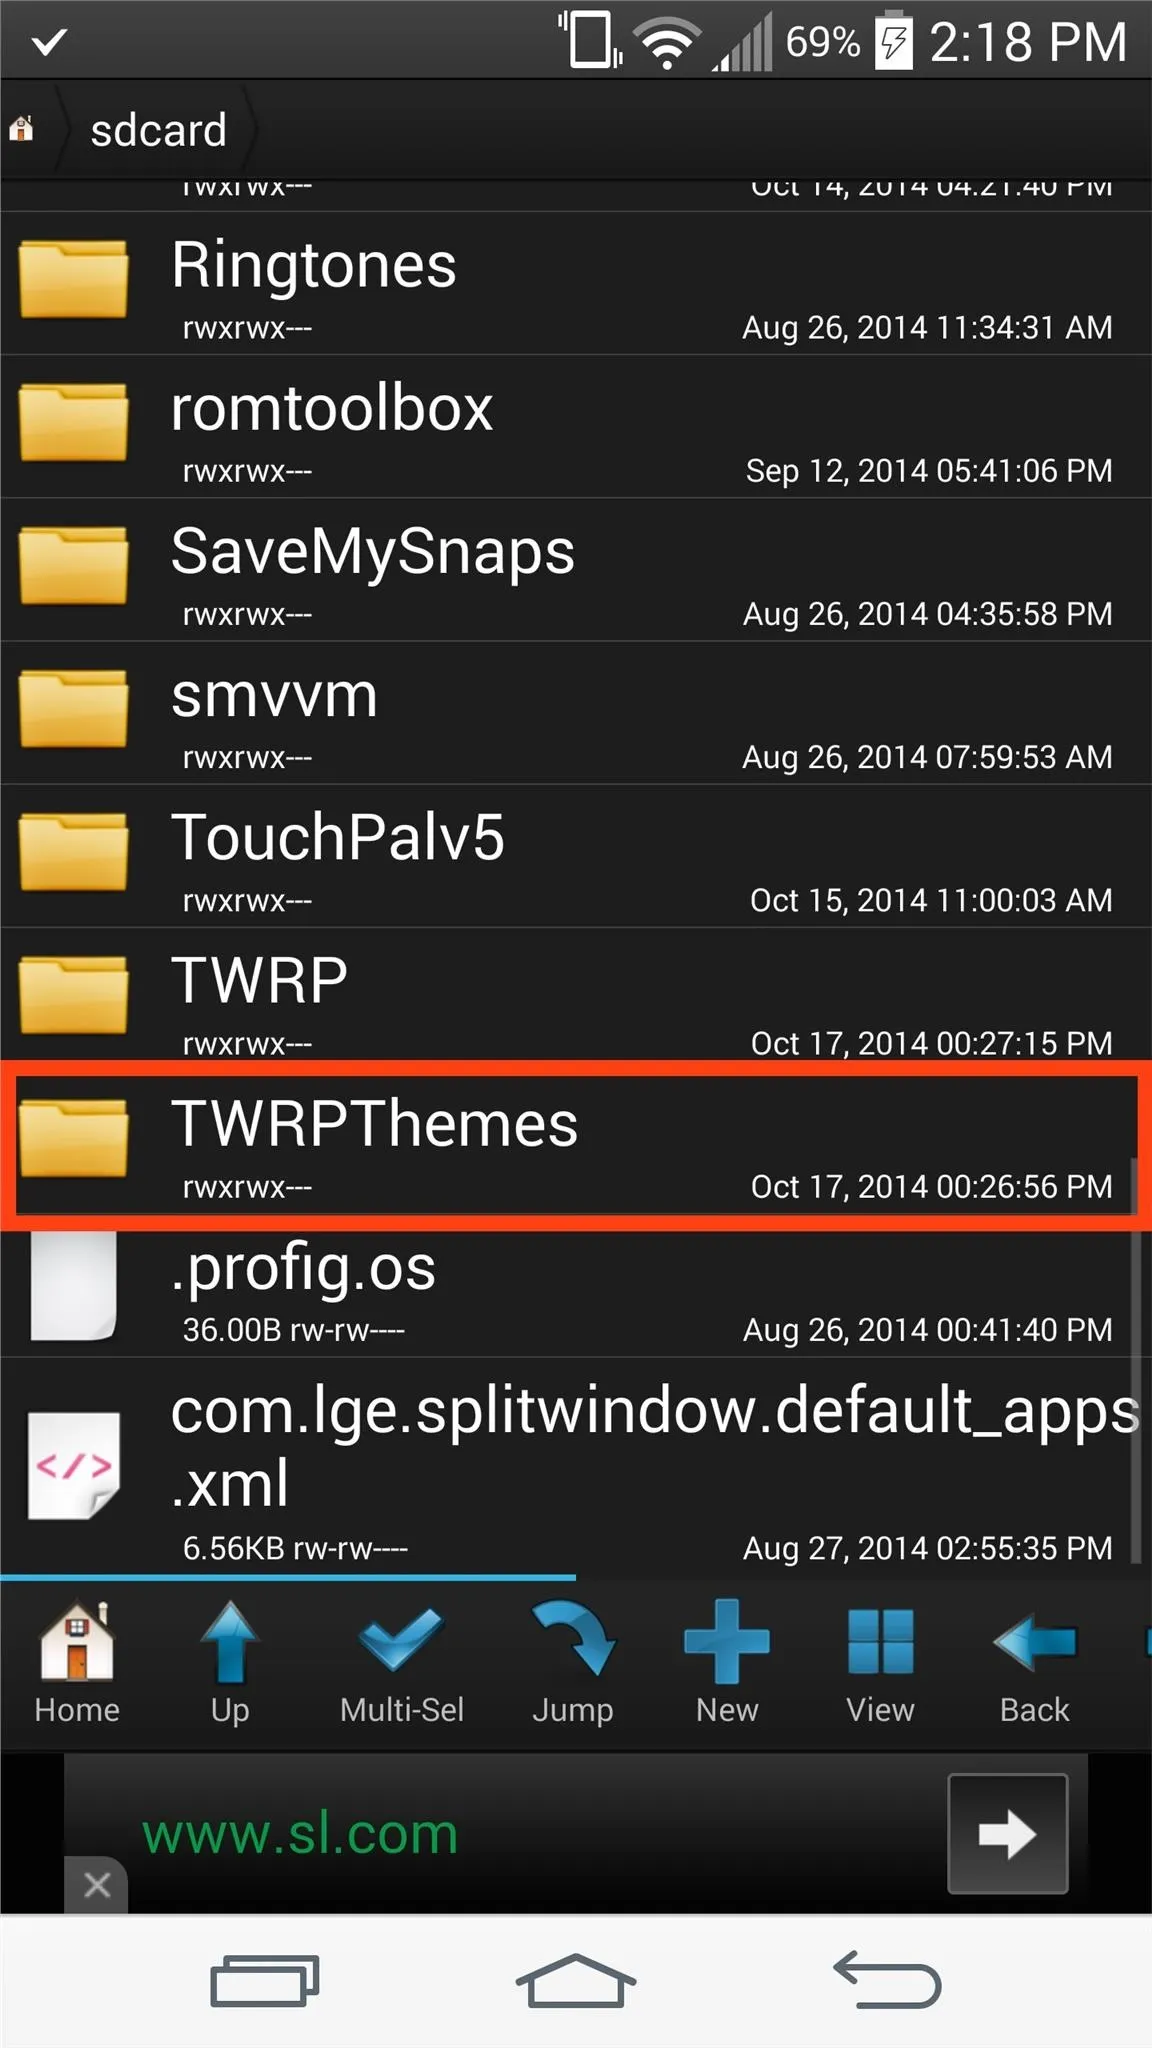
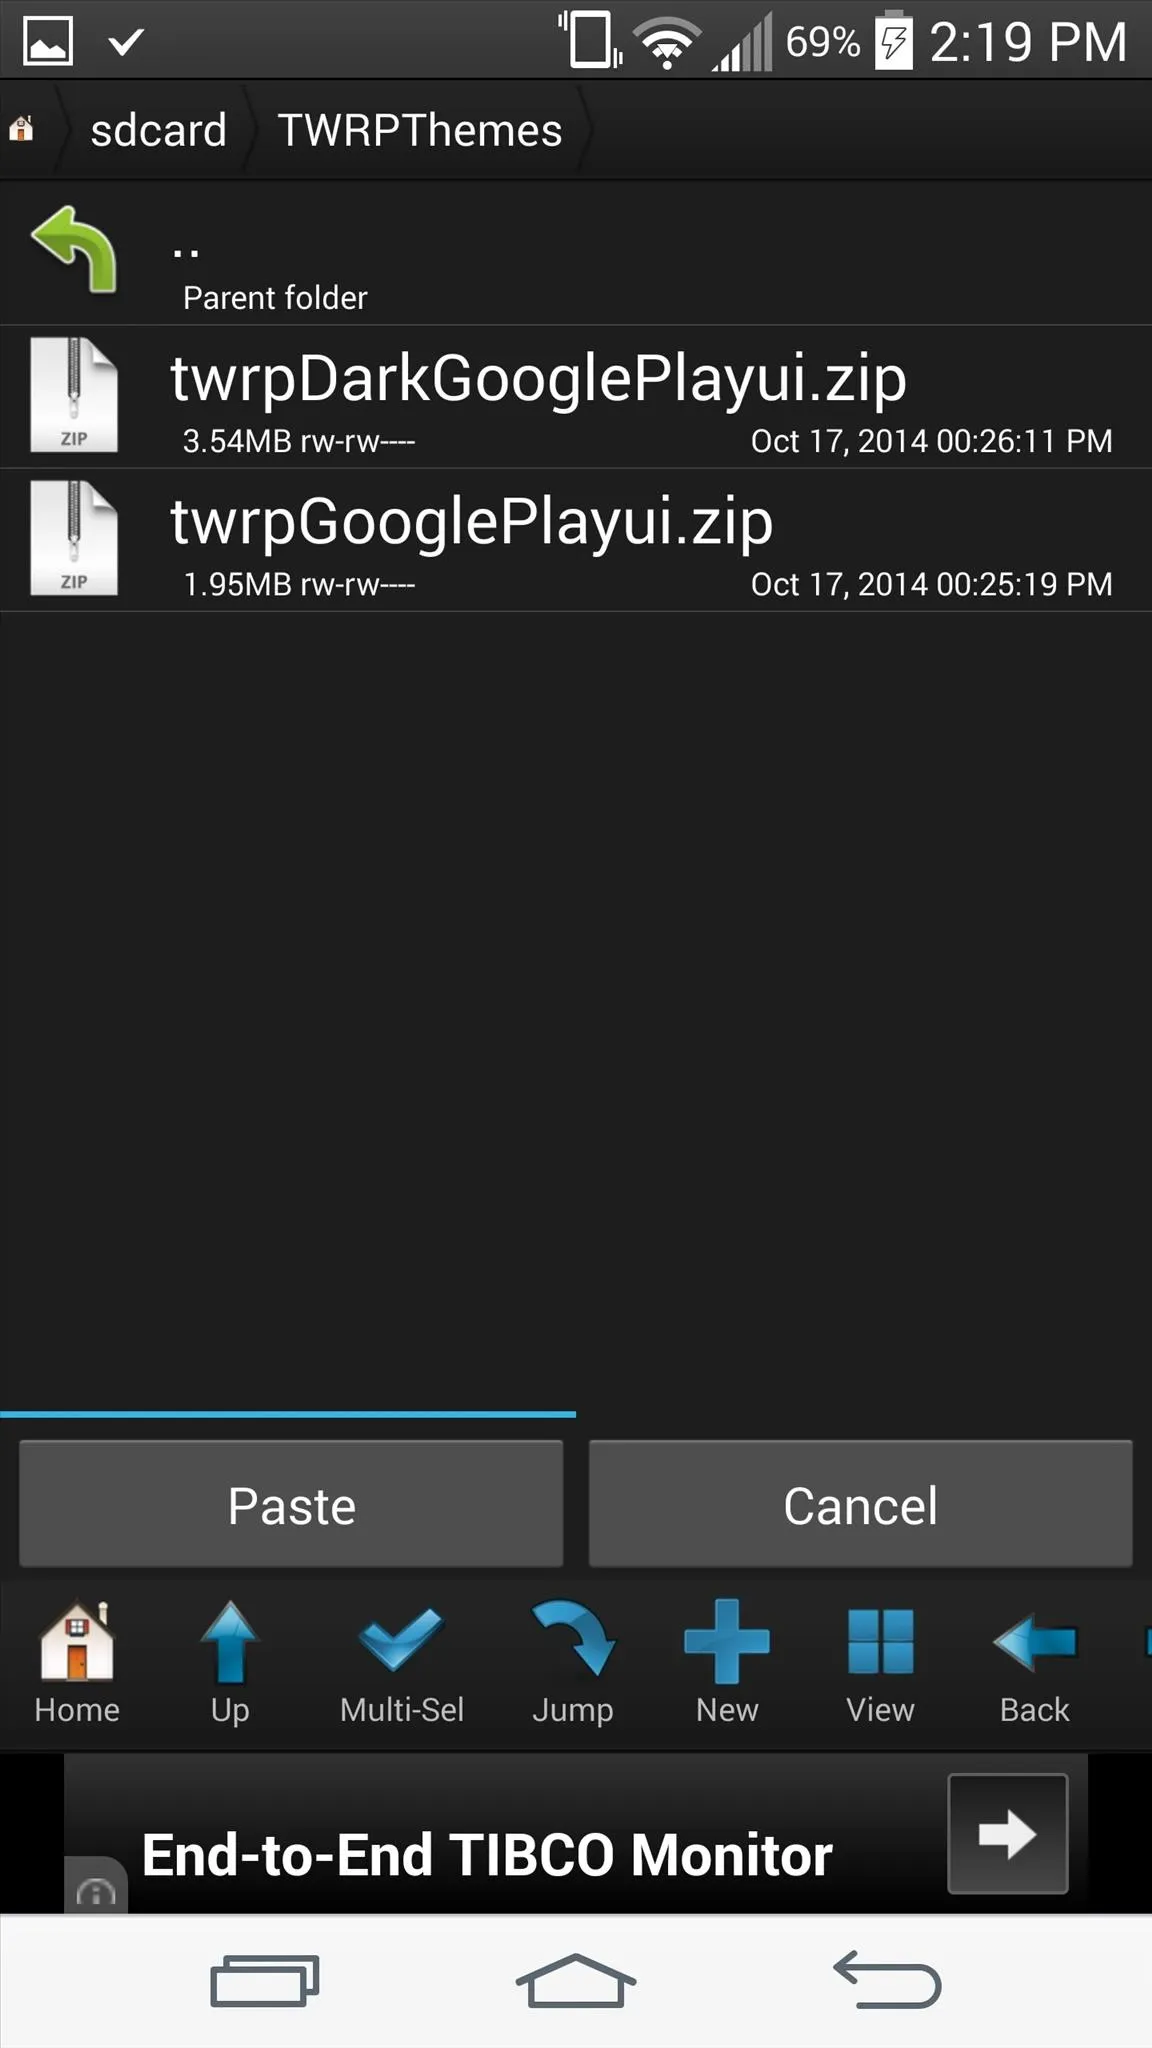
You can do this for all the themes you downloaded, just make sure to rename the files (tap and hold, then select Rename) so you can better manage them.
Apply Your Theme
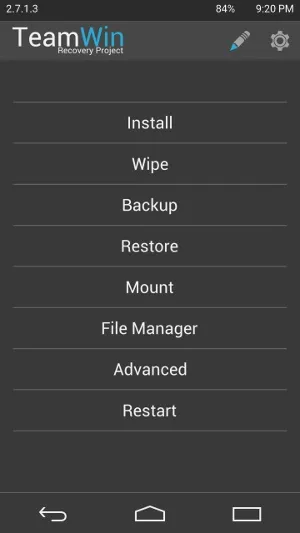
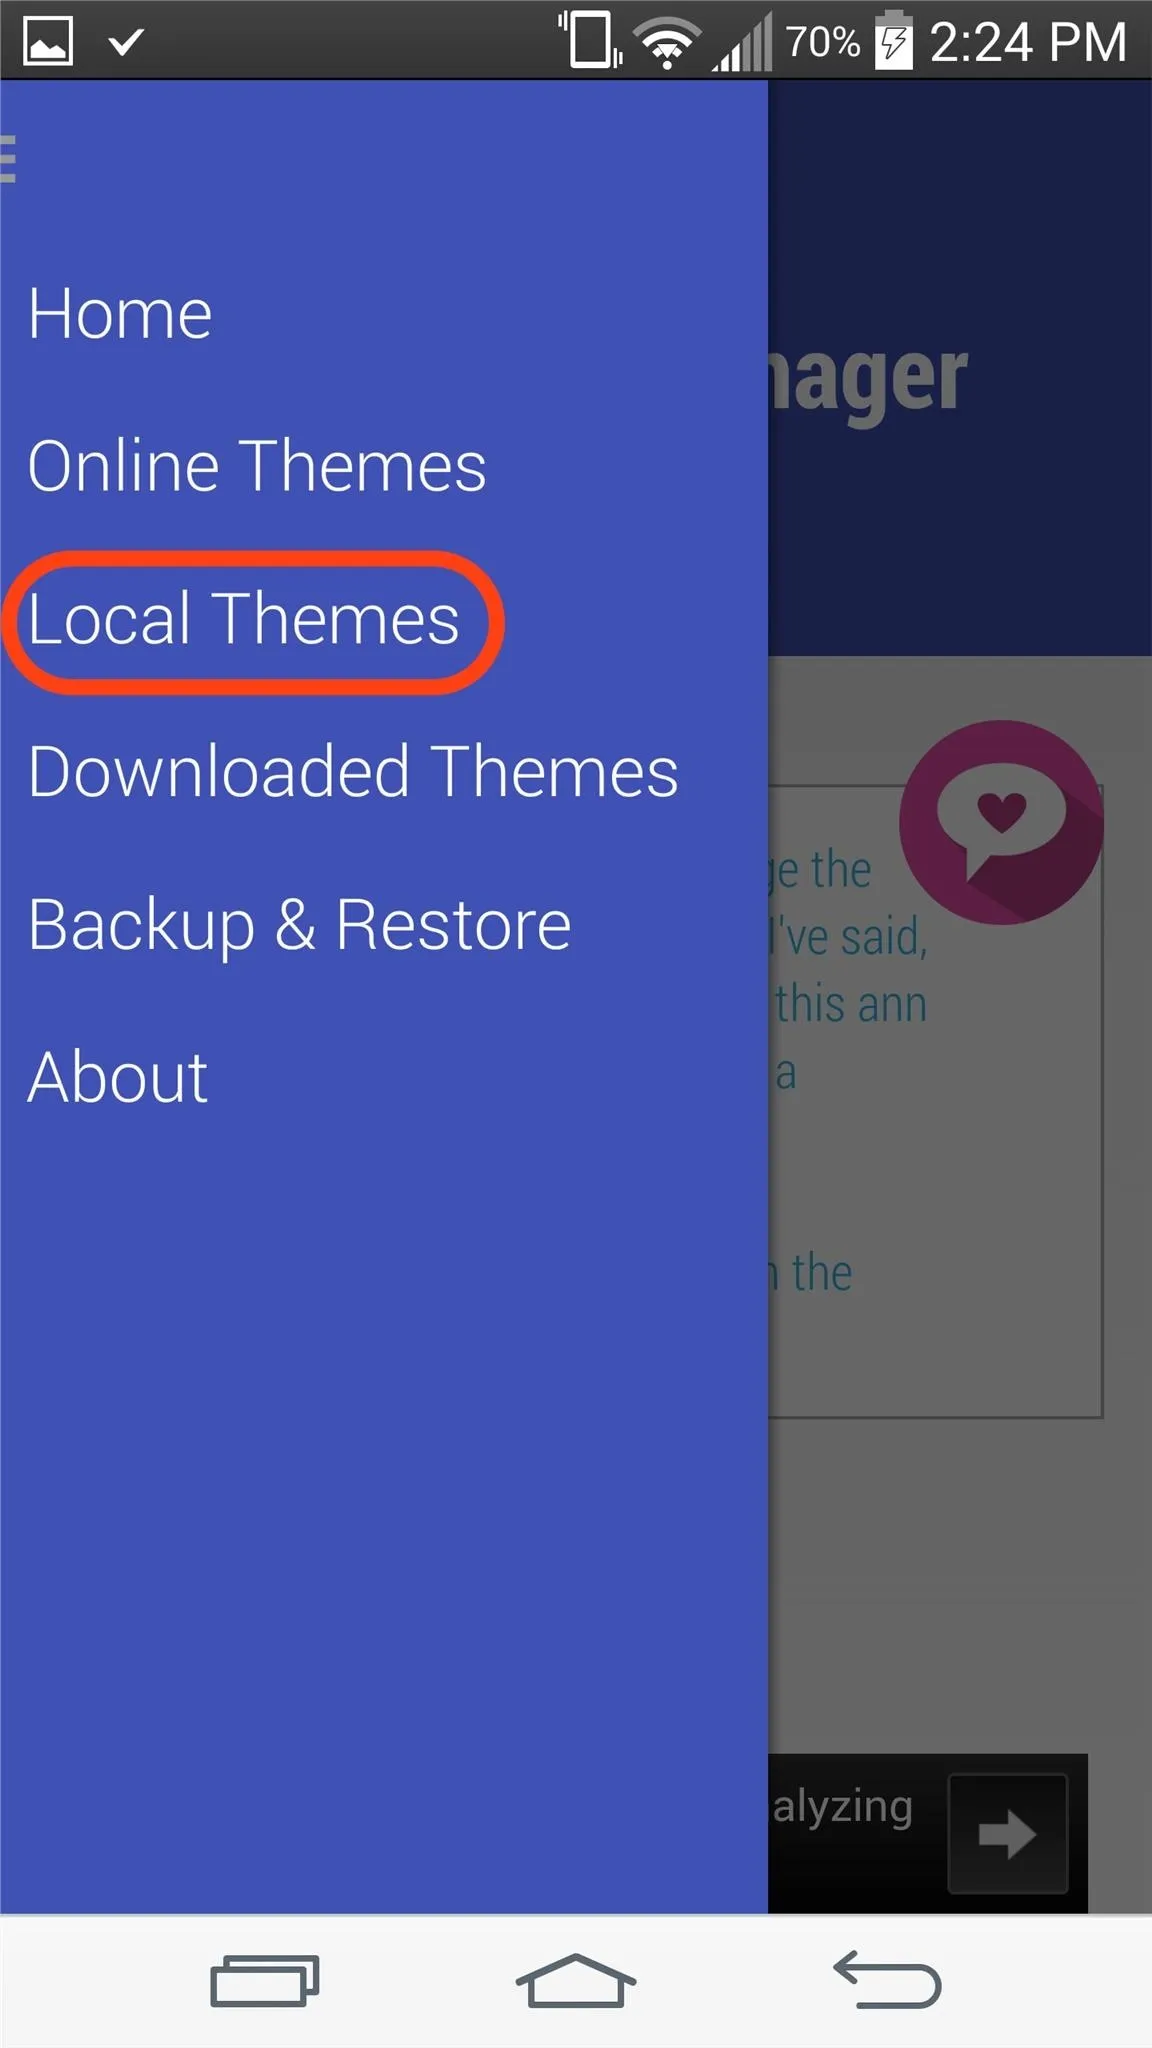
Open TWRP Theme Manager and pull out the side menu, then select Local Themes and choose one to apply—it's that simple.
You can now boot into recovery manually (power down then hold the Power and Volume Down buttons) or by using an app like Quick Boot.
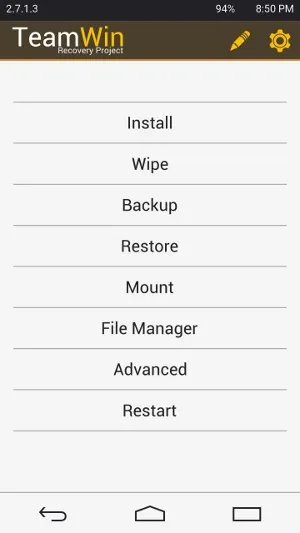
Reverting Back to the Stock Theme
You can easily restore the original theme by selecting Backup & Restore from the side menu of TWRP Theme Manager, then choosing the last option for the TWRP theme.


Take a look at the video tutorial above to follow along and complete the process in no time. Feel free to comment below or ask any questions, and make sure to follow us on Facebook and Twitter.


Comments
Be the first, drop a comment!